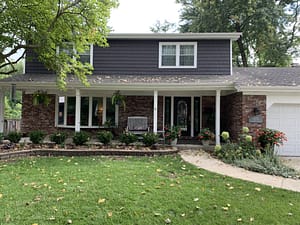
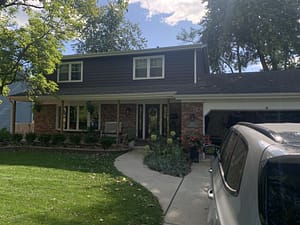
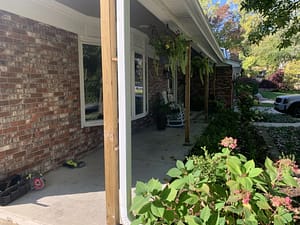
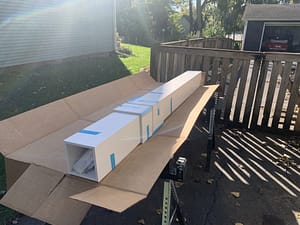
Here are the tips we had after installing 4 Fypon column wraps from Menards on the front of our house. We had existing wood column wraps that were rotting at the bottoms and not big enough to match our liking.
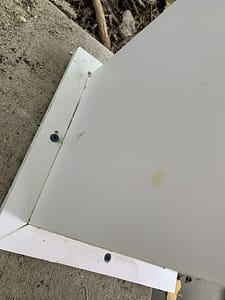
- Don’t use too much glue on the corners. It makes it hard to press them together. A thin smear on both surfaces was more than sufficient. In the beginning we used too much and pressing them together was a pain.
- Use ratcheting or clutch bar clamps with rubber feet to hold the two sides pieces together.
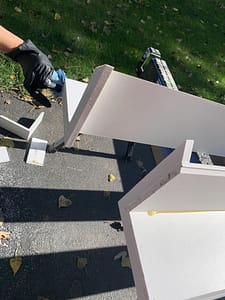
- When placing the two sides together, press the corners together, use clamps, and use a finish or brad nailer into the corners to hold them there.
- Do one column then move to two at a time. The first one took 1.5 hours, the next one took 45 mins. The third and fourth we did at the same time and took about 1 hour.
- It’s a two person job. I suppose it can be done by a single person but it’s a lot easier with two.
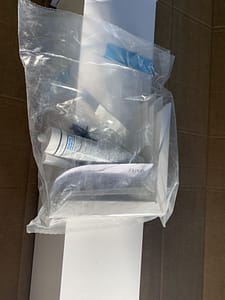
- Caulk is your friend. The column wraps are nice. The fitment is a little off so there will be gaps. Use Caulk to fill the gaps. It works wonders. We used the glue/caulk that came with the column wrap kits.
- Use Saw Horses and a Circular Saw to work on and cut the columns to the right height.
Overall Impressions
- The fit and finish of the columns is not perfect but it’s totally acceptable. Caulk fixes most everything.
- Everything else is benefited by the fact that columns look good at a distance and often fade into the background of living. Don’t fixate on blemishes, others won’t see them, and you won’t either eventually.
- If installed and anchored to the floor and ceiling, the column feels sturdy and solid. I thought there would be some flex in the middle needing some blocking but there is not.
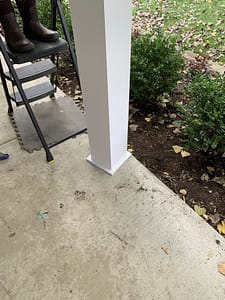
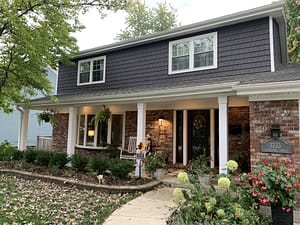
- I’d recommend these. They look great from the street and from the door. The larger size works well with the updated finish of our house.
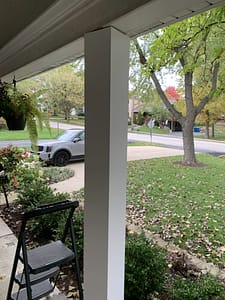
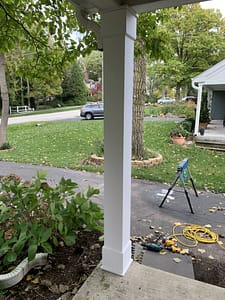
Pictures of the Before, During, After
